The Way
Restorative Back Care
A twelve-step supported sequence to unload the spine and release the low back, props welcome.
⇩ For the full version, see all the exercise PDFs →
Please read first. For informational use only, not a substitute for your doctor’s advice. If you have sciatica, a herniated disc, stenosis, or any back condition, your spine responds differently to different movements (forward bending eases some conditions but aggravates others). Skip any movement that causes sharp pain, tingling, or numbness, and check with your physician or physical therapist.
A restorative sequence for spinal unloading, gentle stability, and deep-core integration, supported, passive, and kind to a tired back. Hold each for several slow breaths.
| Pose | Position | Focus | |
|---|---|---|---|
| 1 | Supported Hamstring Stretch | On your back | Hamstrings (with a strap) |
| 2 | Neutral Rest Position | On your back | Reset & settle |
| 3 | Supported Supine Hip Opener | On your back | Hips (with a block) |
| 4 | Wall Bridge | Feet on the wall | Gentle bridge |
| 5 | Knees-to-Chest Release | On your back | Low-back release |
| 6 | Supported Butterfly | Reclined | Inner thighs (with a bolster) |
| 7 | Legs-Up-the-Wall | Legs up the wall | Deep restorative rest |
| 8 | Forearm Tabletop | Hands & forearms | Gentle articulation |
| 9 | Supported Half-Pigeon | Seated | Hips (with a bolster) |
| 10 | Kneeling Gate Pose | Kneeling | Side body |
| 11 | Back Extension | Prone | Spine |
| 12 | Standing Forward Fold | Standing | Full back line |
1Supported Hamstring Stretch
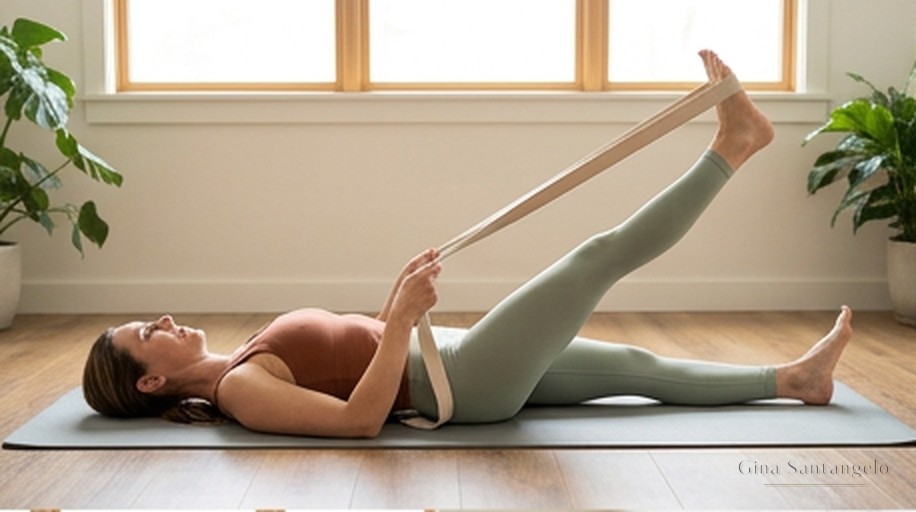
- Loop a strap around the arch of one foot.
- Extend the leg up toward the ceiling, tailbone heavy on the mat.
- Flex the foot gently to deepen the calf and hamstring stretch.
2Neutral Rest Position
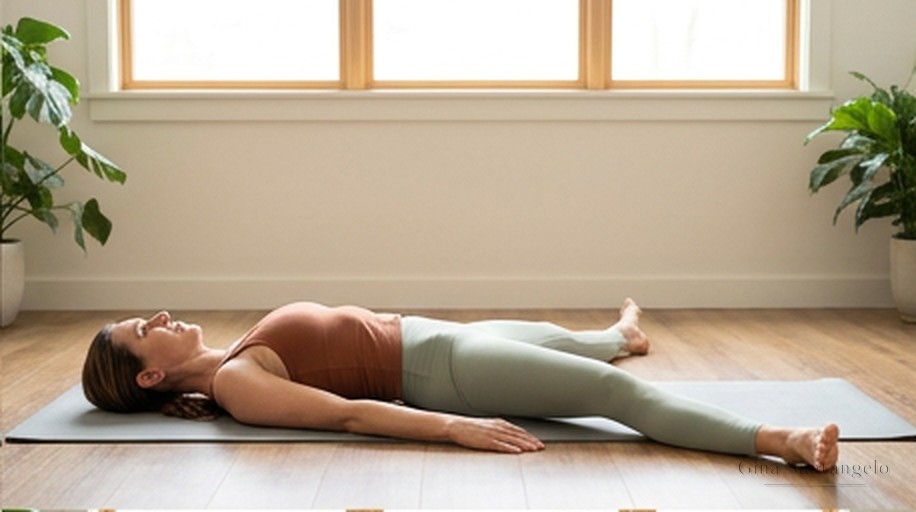
- Lie flat, legs slightly wider than hip-width.
- Let the feet fall open, palms turned up.
- Exhale deeply to melt the spine and shoulder blades into the floor.
3Supported Supine Hip Opener
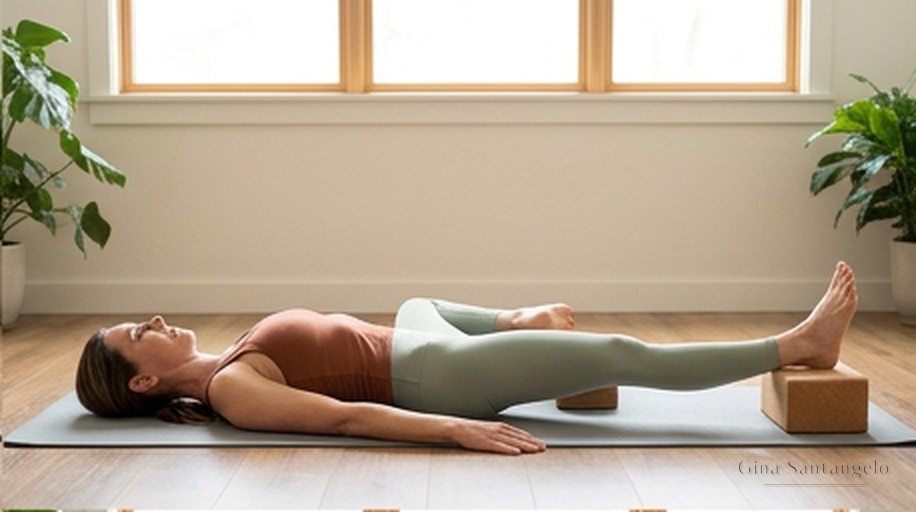
- Cross one ankle over the opposite knee (figure-4).
- Block under the bent knee, block under the opposite foot.
- Keep the pelvis square and let the inner thighs release.
4Wall Bridge (Pelvic Curl)
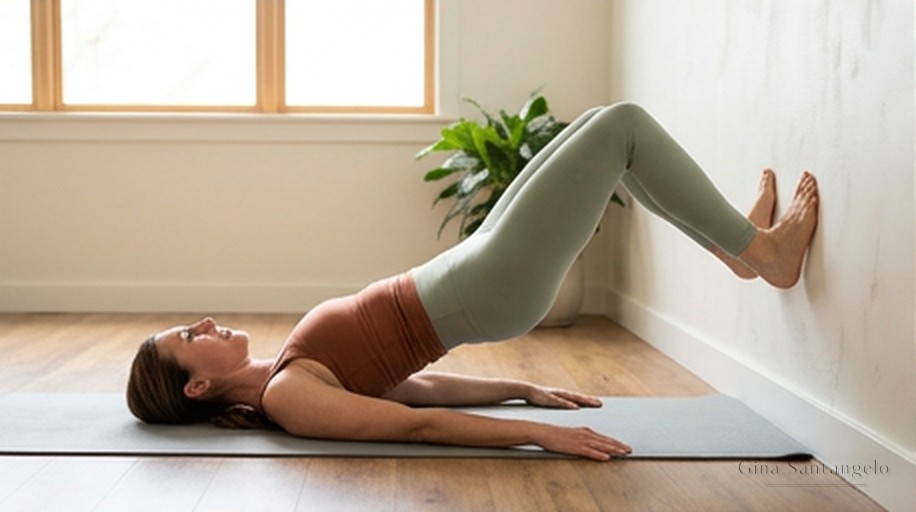
- Feet flat against the wall, knees bent 90°.
- Exhale to scoop the belly and peel the hips up.
- Press into the wall to engage hamstrings and glutes without straining the back.
5Knees-to-Chest Release
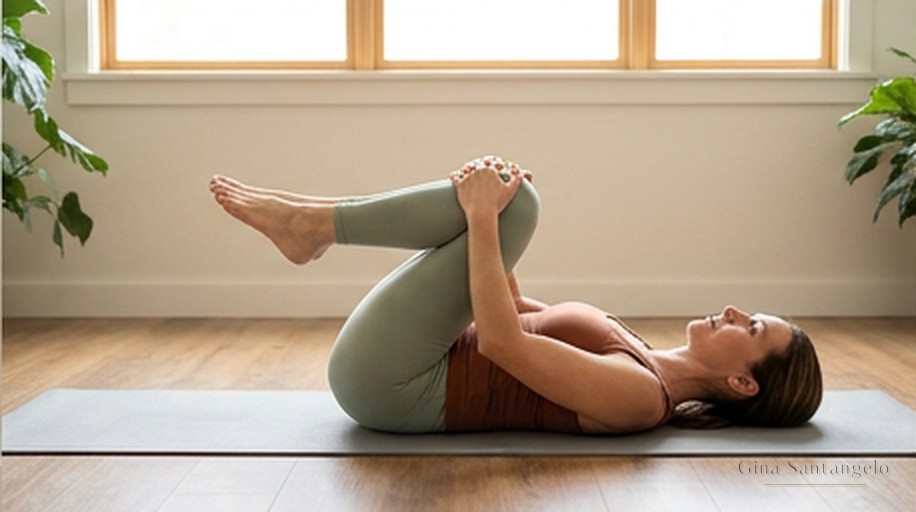
- Draw both knees in, hands clasped over the shins.
- Rock subtly side to side to massage the low back.
- Keep the neck flat, shoulders away from the ears.
6Supported Butterfly
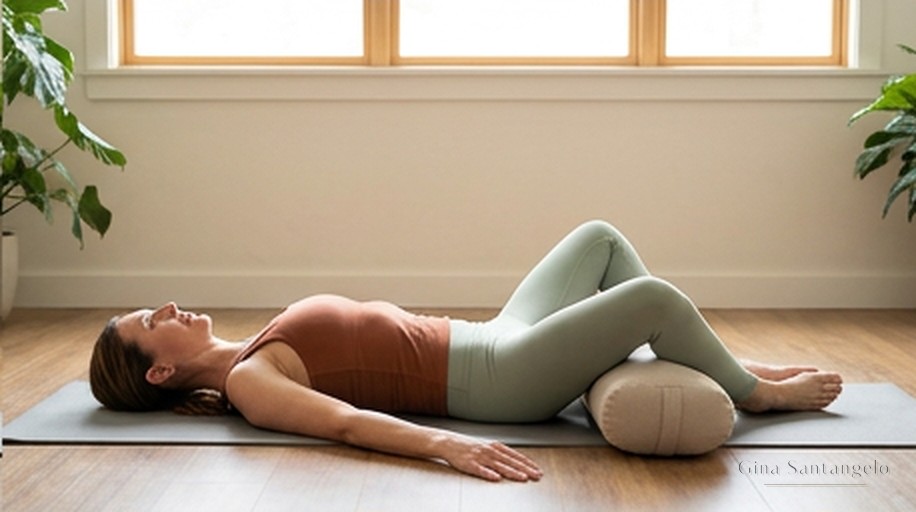
- Soles together, knees wide.
- Bolster or rolled towel under the outer thighs.
- Breathe into the belly and let gravity open the hips.
7Legs-Up-the-Wall
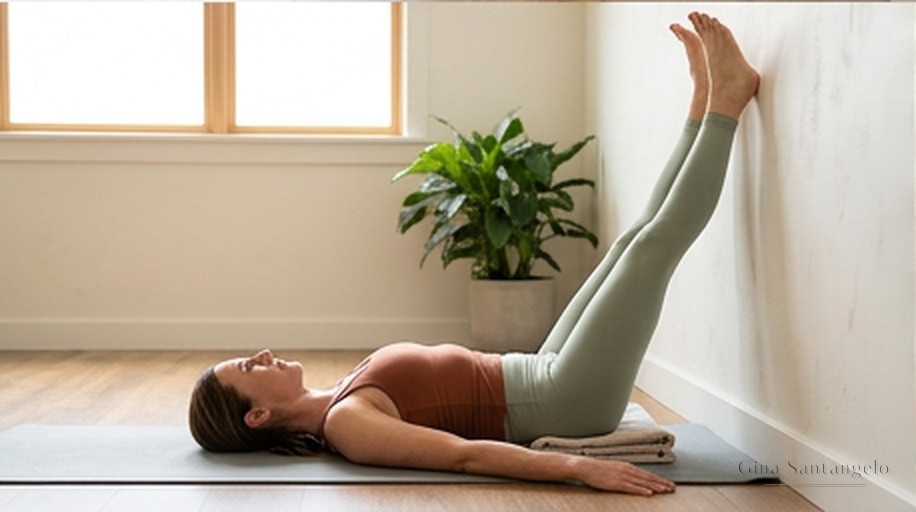
- Sit sideways to the wall, swing the legs up as you roll back.
- Folded blanket under the sacrum for gentle elevation.
- Arms wide; let tension drain from the legs.
8Forearm Tabletop
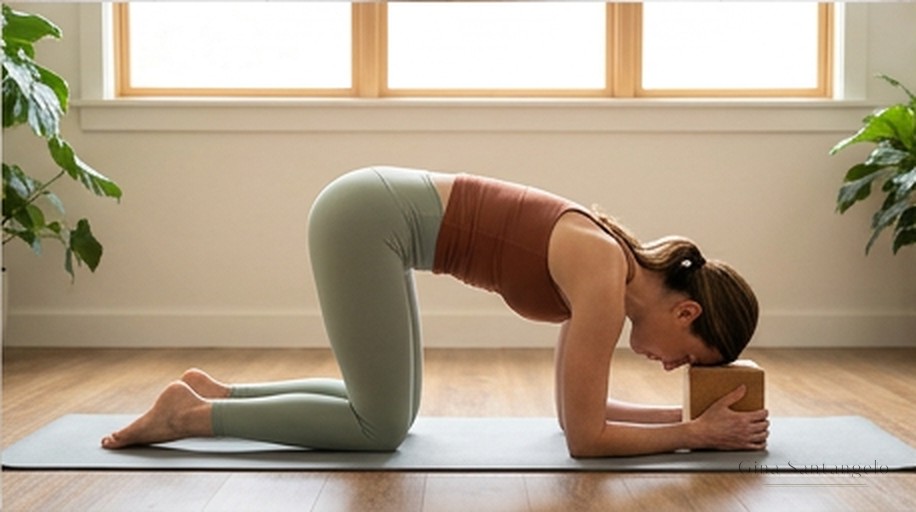
- Hands and knees, then down onto the forearms.
- Rest the forehead on the floor if you can; otherwise use a yoga block, with or without the block is fine.
- Draw the lower belly in slightly for a long, neutral spine.
9Supported Half-Pigeon
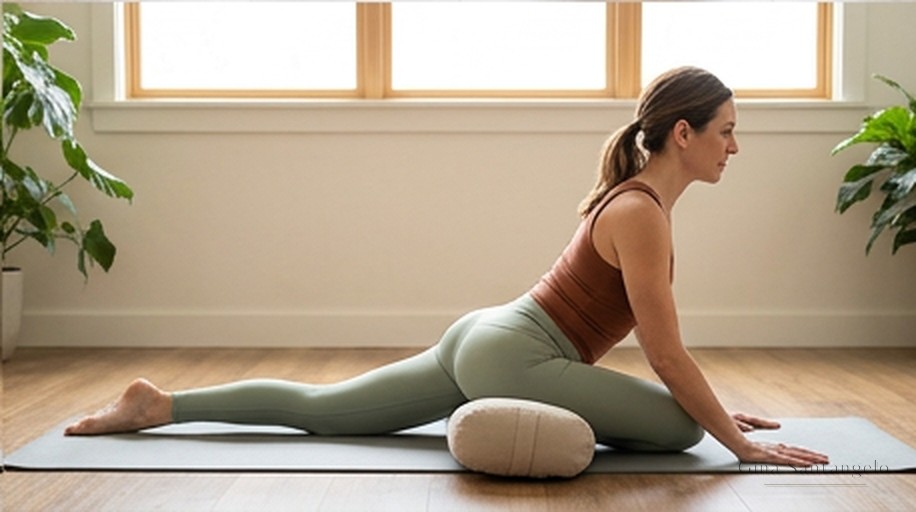
- One knee forward and slightly open, back leg straight.
- Bolster or pillow under the hip of the bent leg.
- Hands down, lift the chest to stretch the glutes and hip flexors safely.
10Kneeling Gate Pose
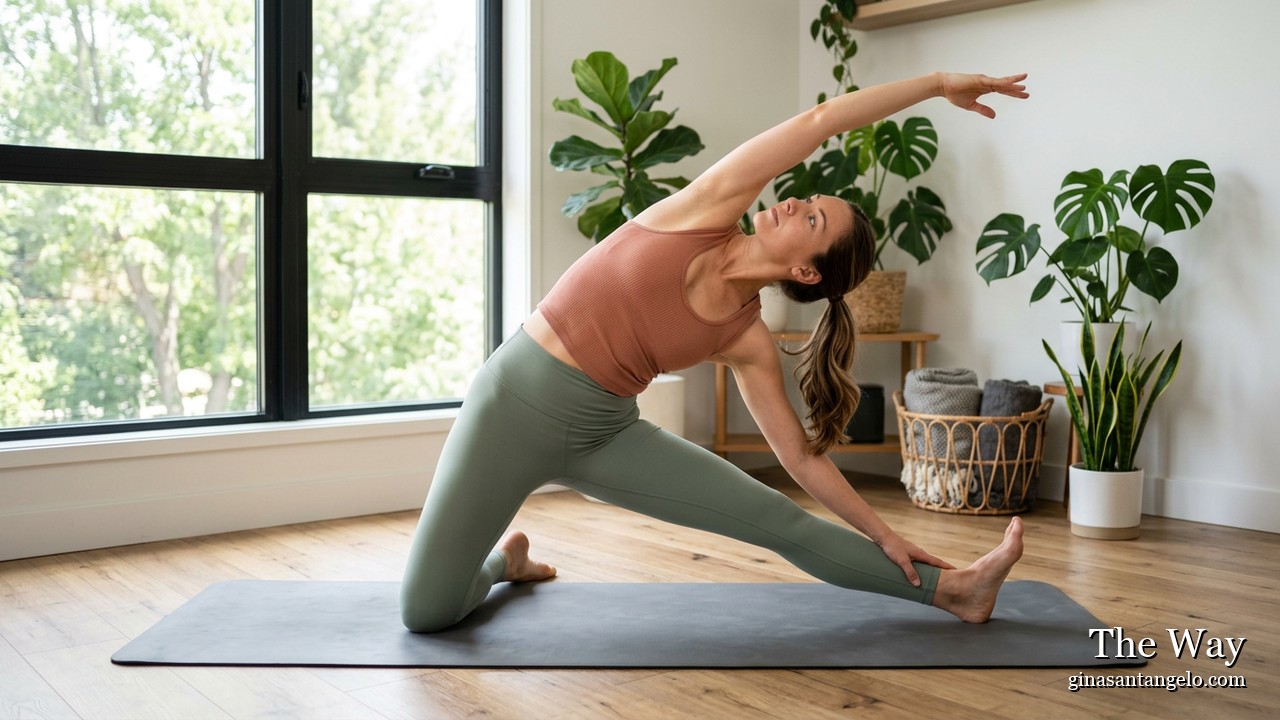
- Kneel tall, then extend one leg straight out to the side, foot flat.
- Rest that same-side hand on the leg; sweep the other arm up and over.
- Reach into a long side-bend, then switch sides.
11Back Extension
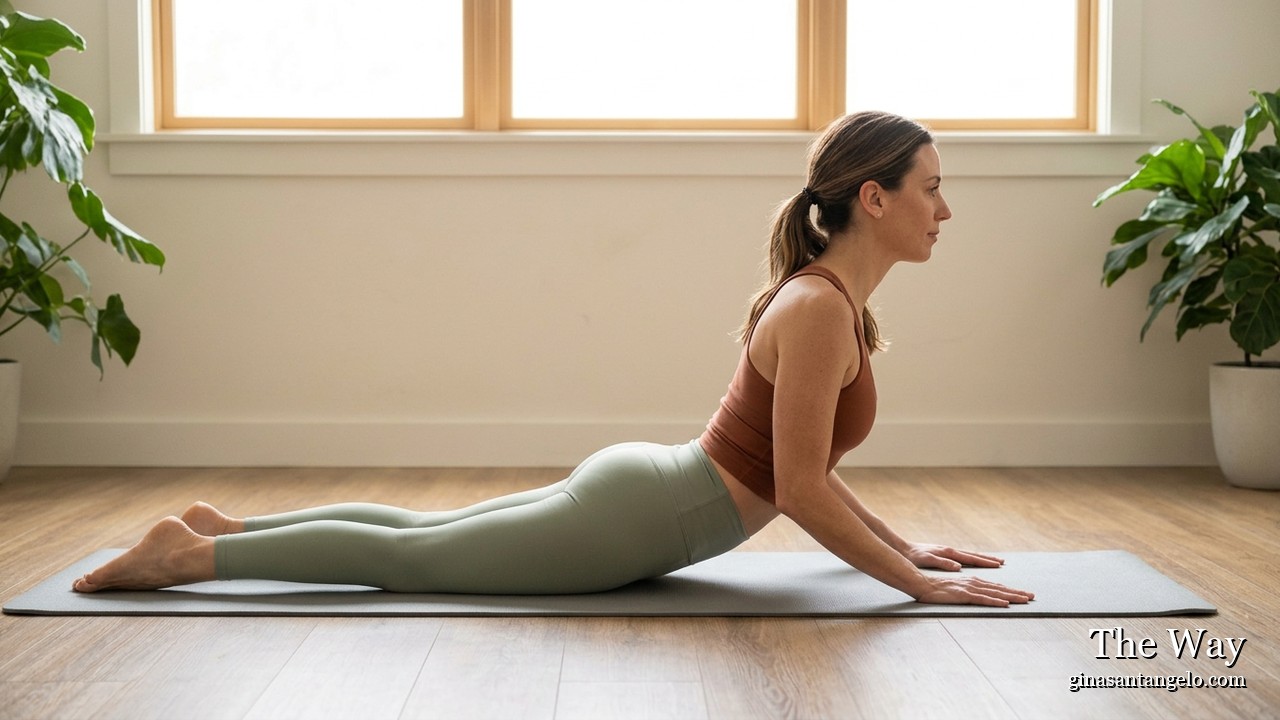
- Lie on your front, hands under your shoulders, elbows drawn in.
- Press lightly and lift the chest, keeping it low like a sphinx.
- Lengthen the front of the body; lower with control.
12Standing Forward Fold
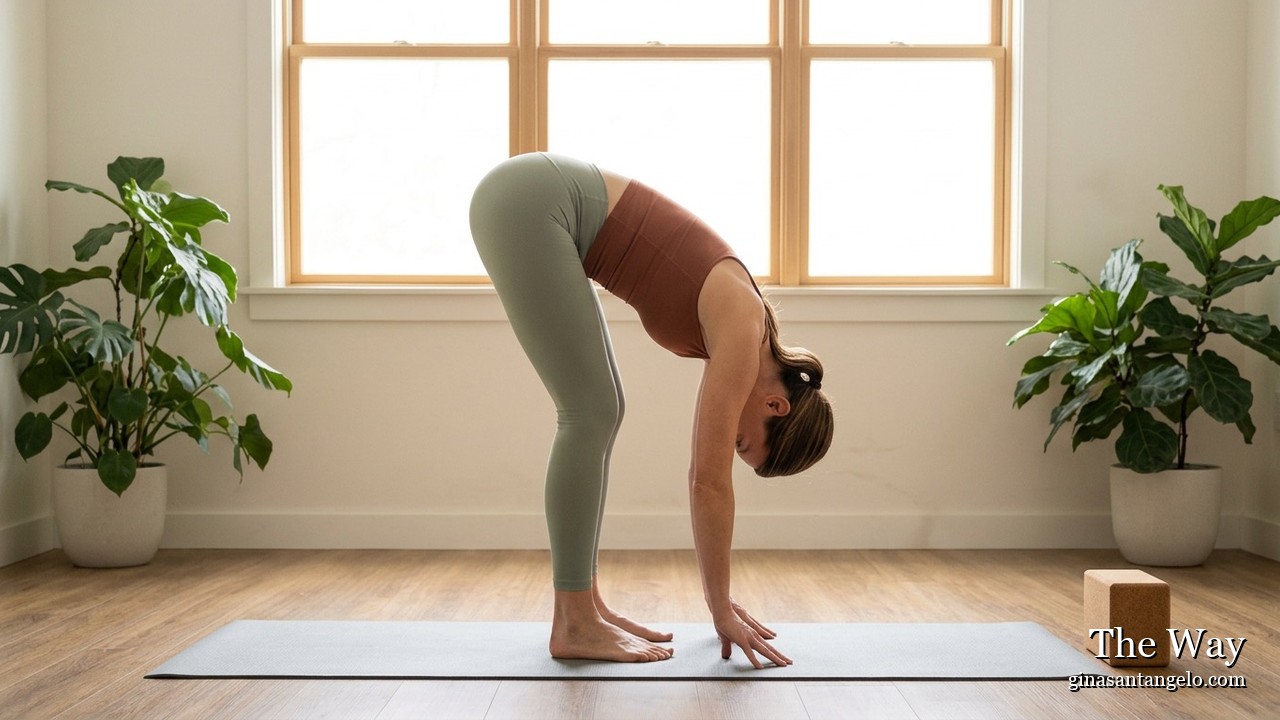
- Stand tall, then hinge at the hips and fold forward with soft knees.
- Let the head and arms hang heavy, gravity lengthens the spine.
- Roll up slowly, one vertebra at a time.
The Way by Gina Santangelo
ginasantangelo.com · © 2026 GLOW Body, LLC · For personal use